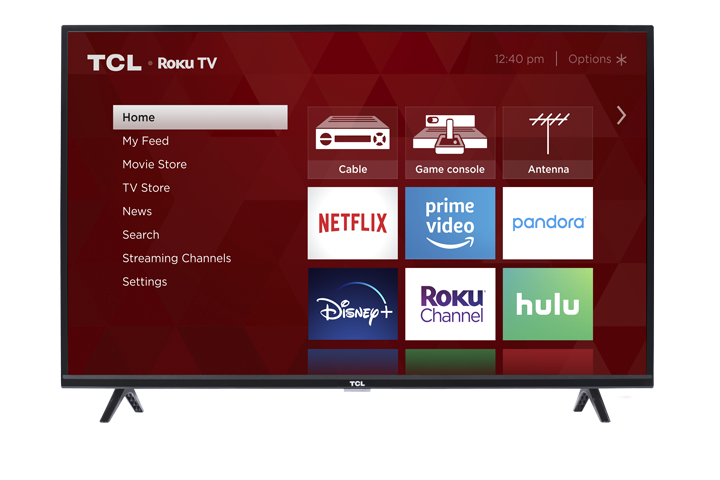
There are three (3) ways to connect your cable or satellite service on your TCL Roku TV, and here is a video on how to easily set it up. You can also refer to the step-by-step instructions below, select your preferred connection.
Connecting with HDMI (Recommended)
We recommend connecting your cable or satellite receiver using an HDMI cable. This is the easiest method to connect your devices, and provides the highest quality of video and sound.
- With the TV powered off, connect the HDMI cable from your Cable or Satellite Receiver to the HDMI 1 input or any available HDMI ports on your TCL Roku TV.
- Power on your TCL Roku TV and your receiver
- From the Home Screen, and using the TCL Roku remote, navigate to the HDMI Input Tile where you connected the device
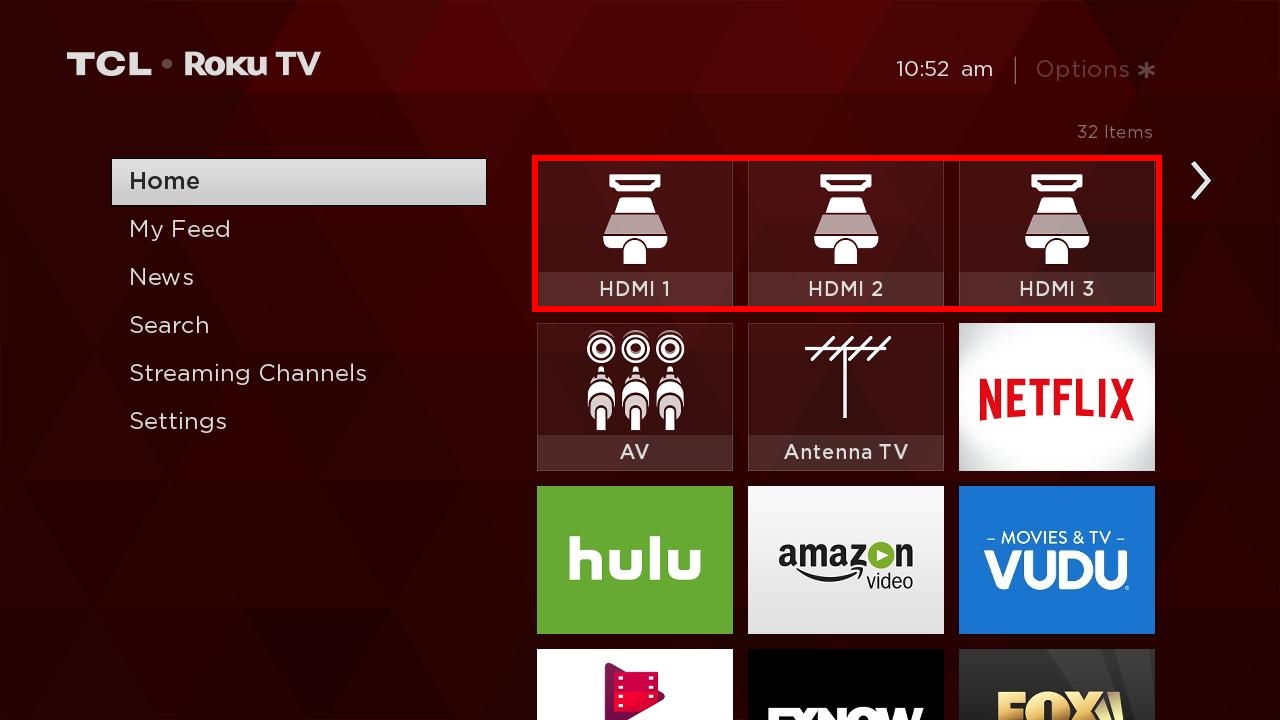
- Press the
 button.
 - If the receiver if powered on and cables are properly plugged your TV will recognize the connection.
TIP: You can rename the HDMI Input (or any Input) by pressing the "*" button on your TCL Roku remote while the tile is highlighted. Select Rename Input and press the OK button. You can then select a different name/icon pair like Cable box or Satellite TV.
Connecting with Composite RCA Cable
If the best available connection on your receiver is a composite video output, you can easily plug it to the TV using an RCA cable (not provided). Composite AV cables typically have three RCA-type plugs on each end, color coded as follows:
- Yellow: Video
- Red: Audio, right channel
- White or black: Audio, left channel
- While the TV is powered off, connect each plug to the corresponding connector on the receiver and on the TV.
- Power on both your TCL Roku TV and the receiver.
- From the Home screen and using the TCL Roku remote, navigate to the AV Tile
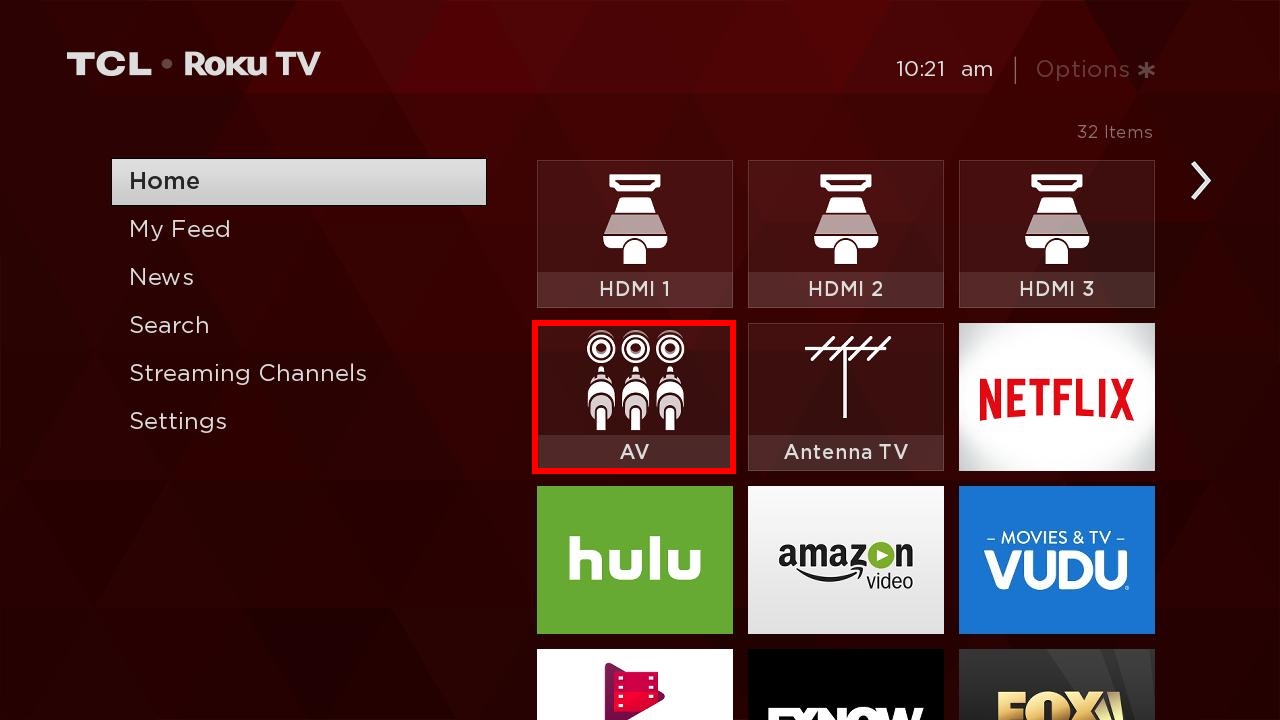
- Press the
 button.
 - If the receiver if powered on and cables are properly plugged your TV will recognize the connection.
Tip: You can rename the AV Input (or any Input) by pressing the "*" button on your TCL Roku remote while the tile is highlighted. Select Rename Input and press the OK button. You can then select a different name/icon pair like Cable box or Satellite TV.
Connecting with a Coaxial Cable
- With the TV powered off, screw the coaxial cable from your Cable or Satellite Receiver on to the Coaxial input of your TCL Roku Television.
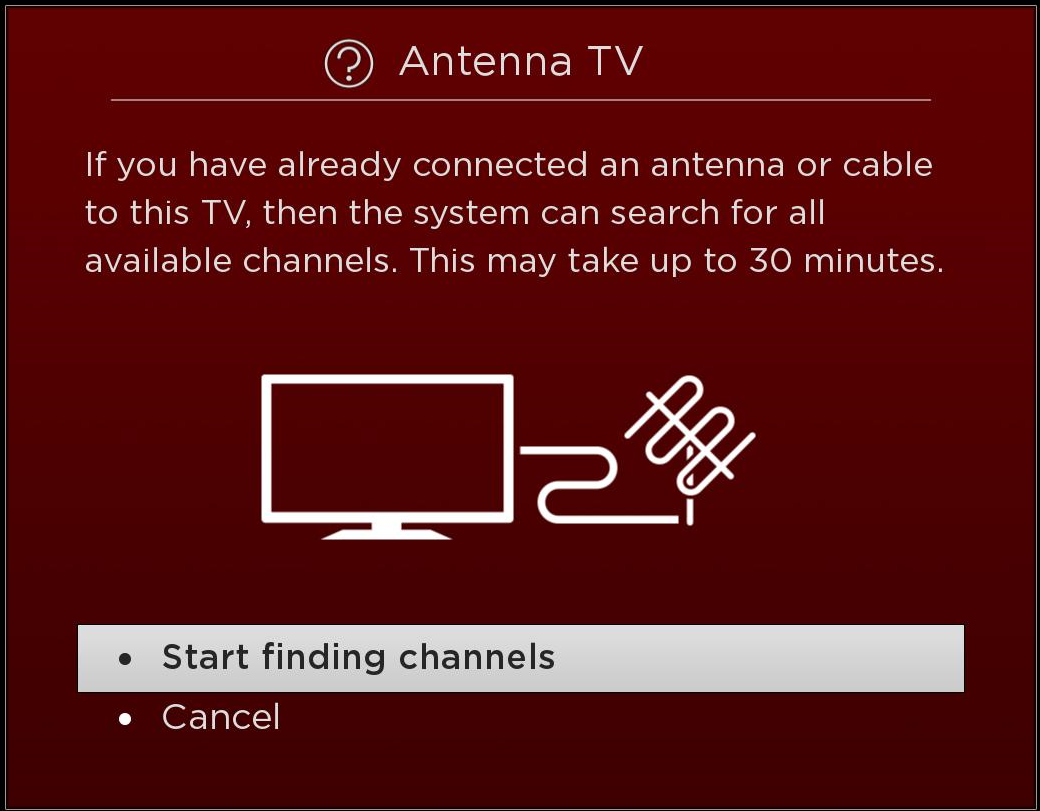
- Power on your TCL Roku Television and from the Home Screen navigate to the Antenna TV tile, press the OK button on your TCL Roku remote.
- Select Start finding Channels and press the OK button on your TCL Roku remote.
- Select No, Channels 3 & 4 are needed
Please note: If a VCR is connected from your Cable or Satellite Receiver to your TCL Roku TV then Select Yes, channels 3 & 4 are needed.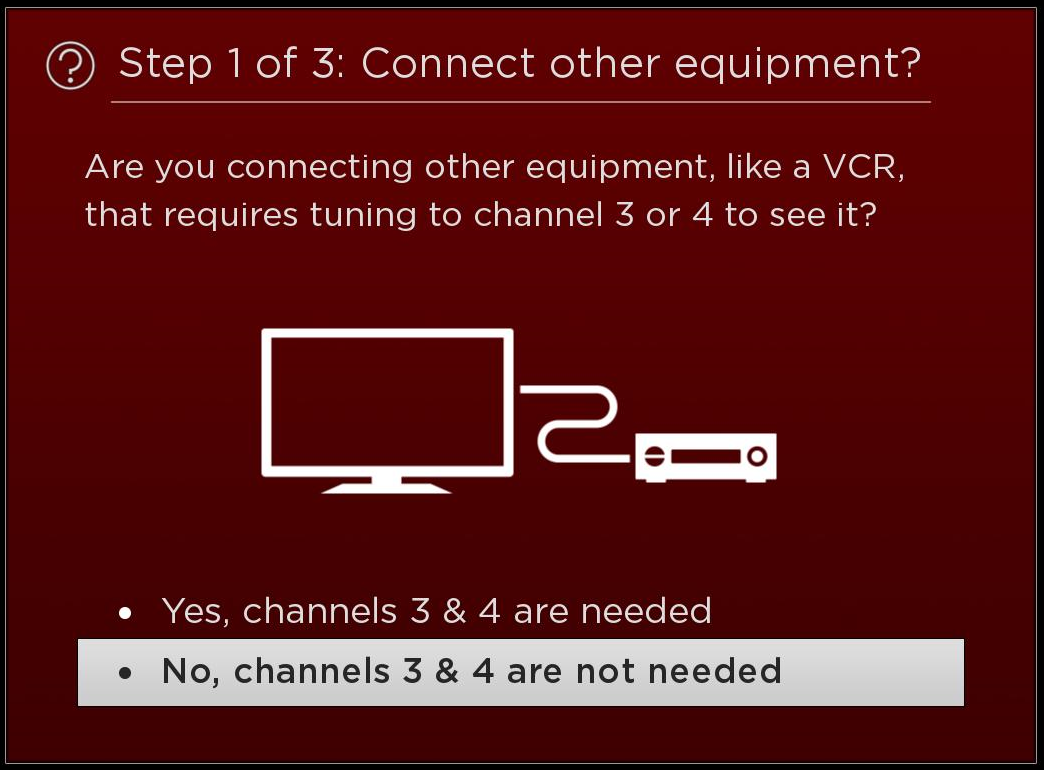
- Your TCL Roku Television will begin to scan for channels.
Scanning for channels can take several minutes.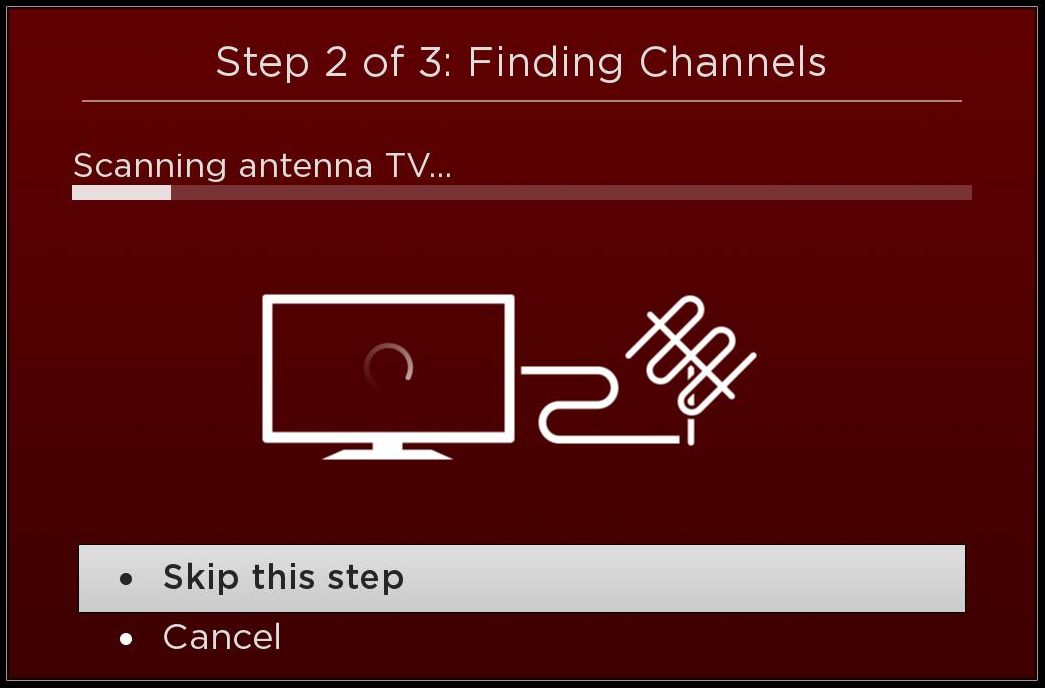
- In the next step, your TV will try to find cable channels available through your paid subscription.
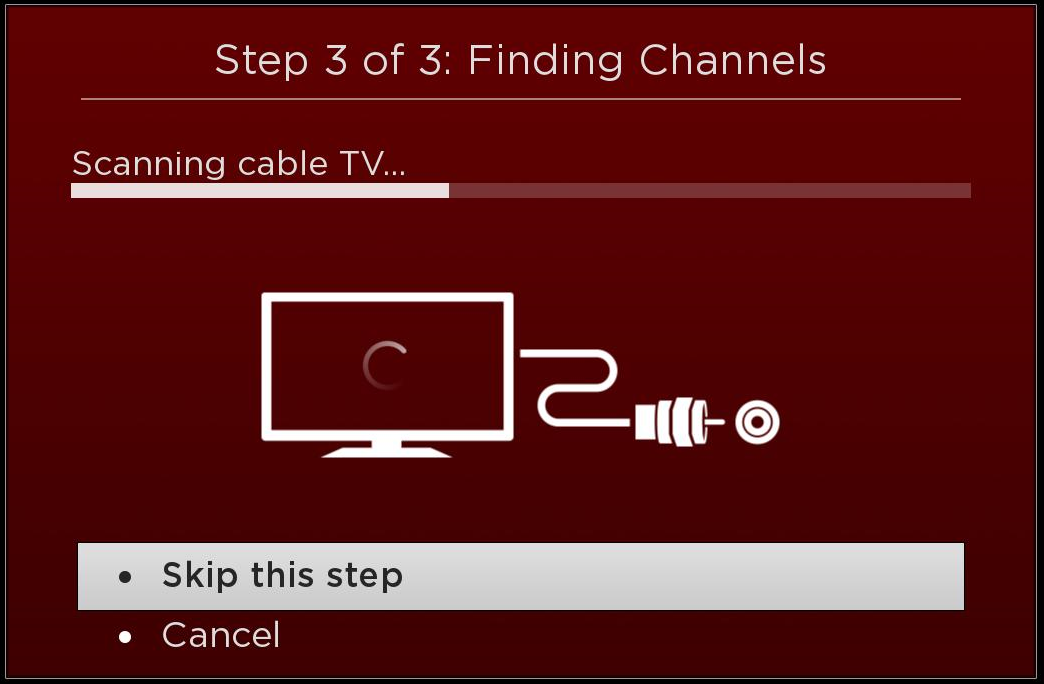
- When the channel scan is completed, the TV will display a message indicating the number of channels found and information about editing the channel lineup.
You can choose:
Done– keeps the current channel list and exits to the Antenna TV. Tunes the first channel found other than analog 3 or 4
Search for channels again – in case they were expecting the TV to find more channels that it did. Searching for channels clears the channel list and starts over.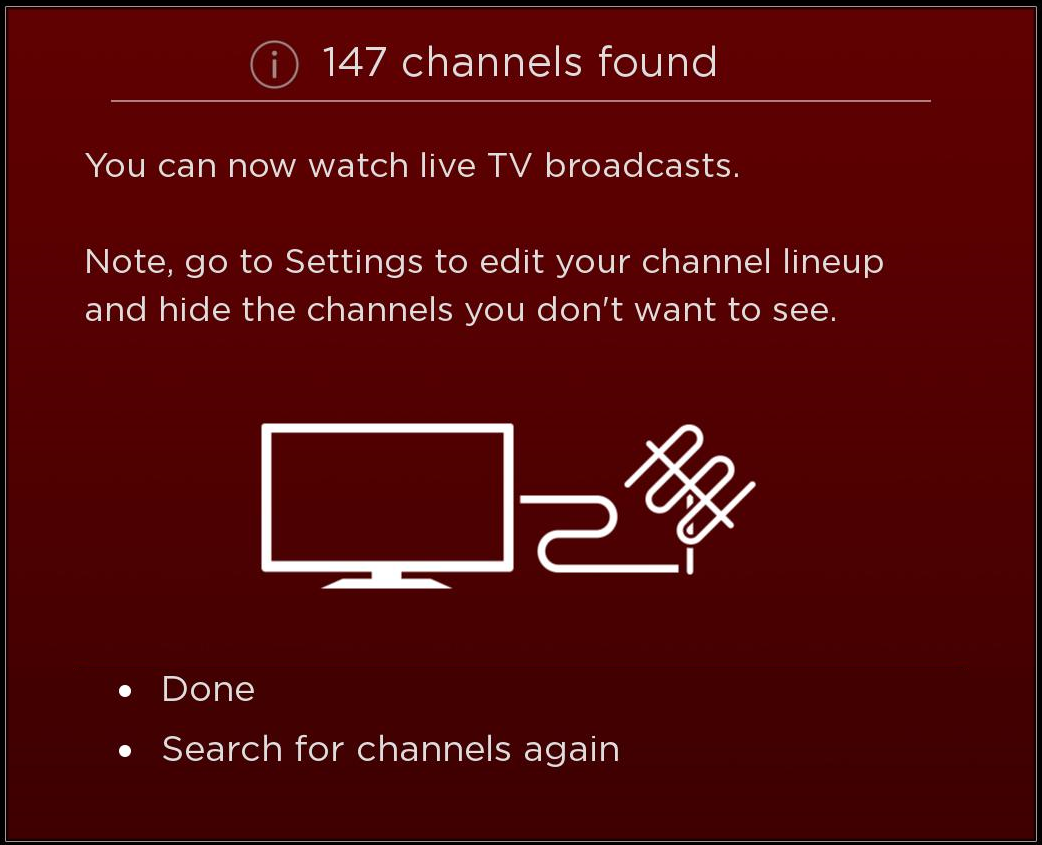
Once you press done, it will bring you to the Home screen. The Antenna TV tile should display the input's preview (as shown below).
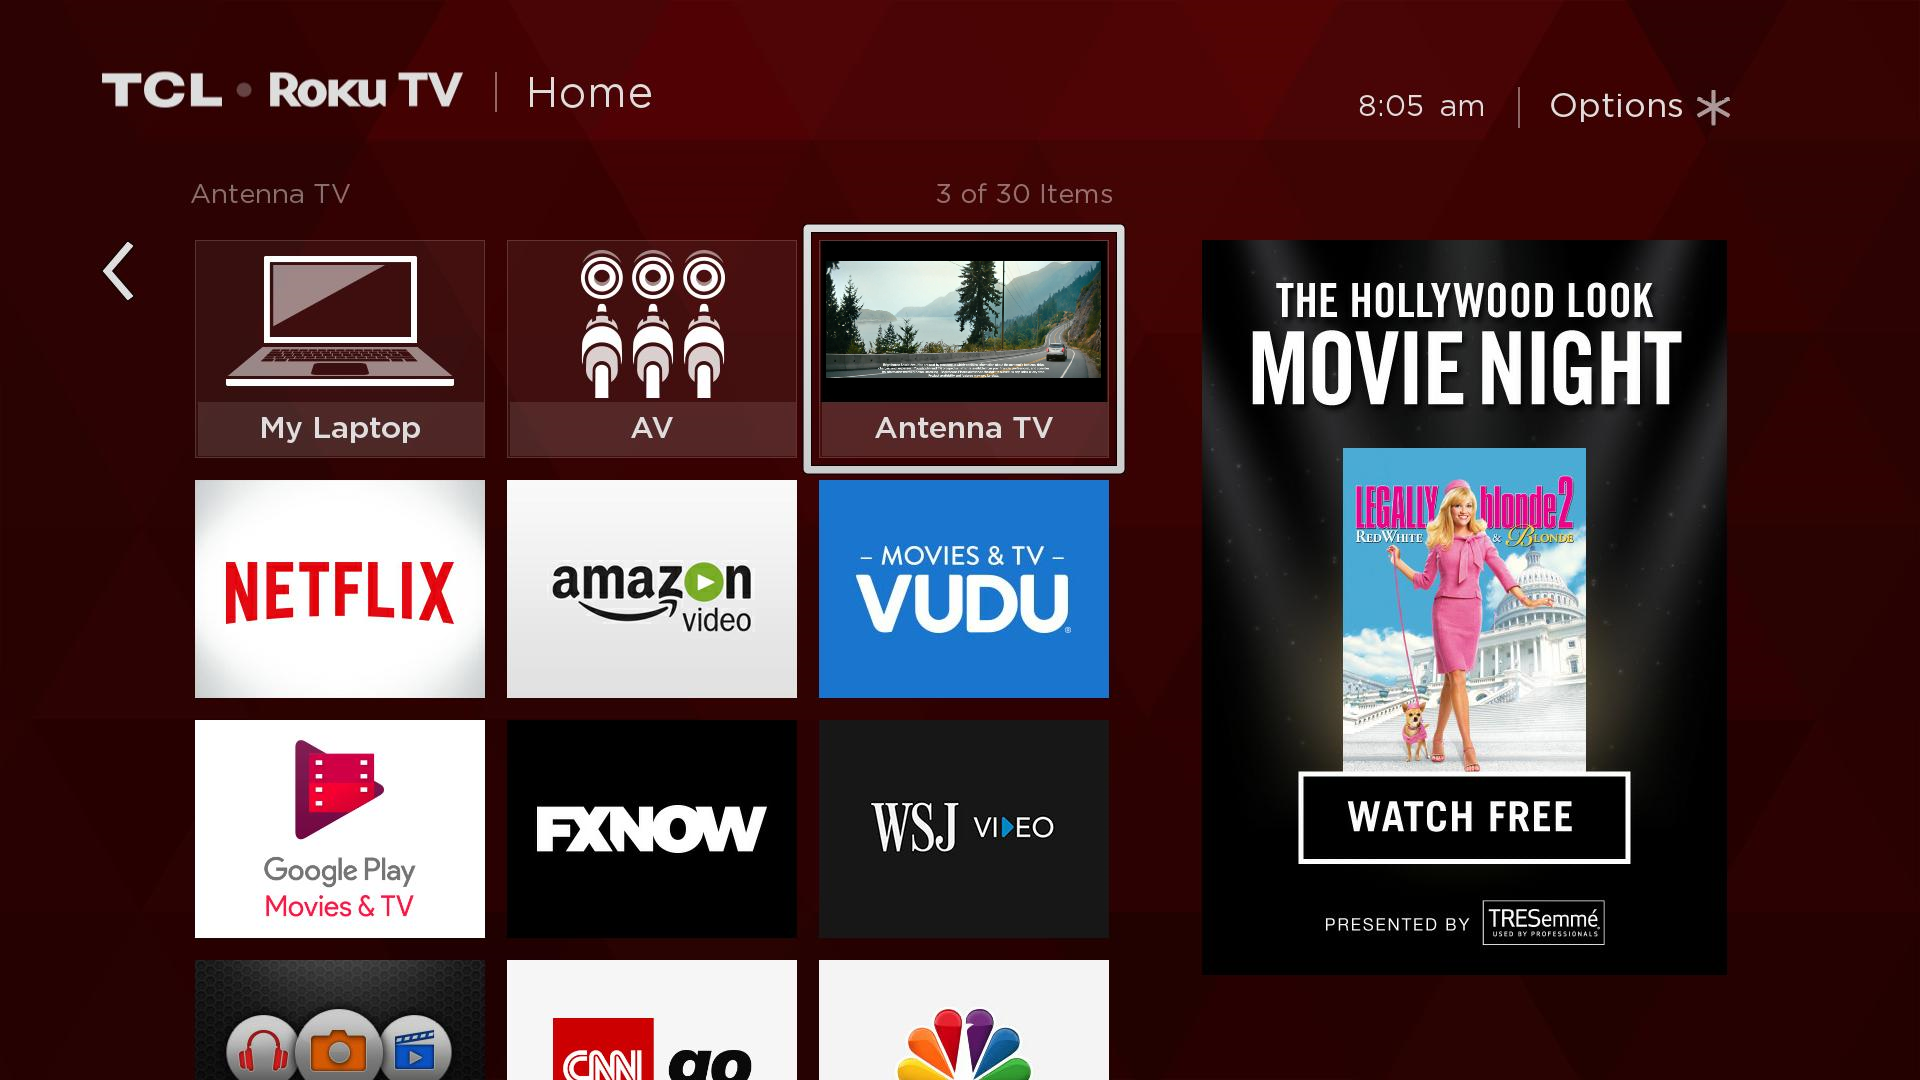
Select the input tile and press the OK button to start enjoying shows from your cable subscription.
TIP:You can rename the Antenna TV (or any Input) by pressing the "*" button on your TCL Roku remote while the tile is highlighted. Select Rename Input and press the OK button. You can then select a different name/icon pair like Cable box or Satellite TV.


