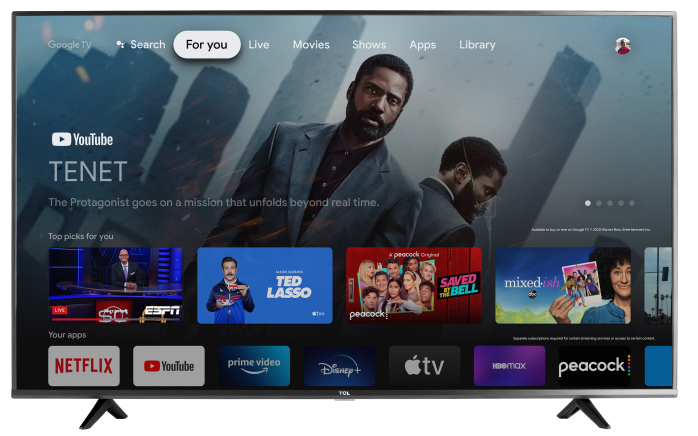
Congratulations on your new TCL TV! To help you get started, we’ve prepared this quick and easy unboxing guide so you can set up your TV safely and correctly. Follow the steps below to ensure the best first experience with your new entertainment center.
Before You Begin
Find a clean, flat surface with plenty of room to unbox the TV.
If your TV is 55” or larger, we recommend having two people for lifting and handling.
Have scissors or a box cutter handy to remove any packaging tape.
See below for tips specific to TCL TV's by size:
43" and Below
Step 1: Open the Box the Right Way
Carefully cut or remove any plastic straps.
Lift and remove the entire top half of the box (this may include side panels depending on model size).
Set aside the packaging foam, accessories, and documentation as you go.
Step 2: Check What's in the Box
Your TCL TV box should include:
TCL Google TV
Remote (with batteries)
Power cord
TV stand(s)
Quick Start Guide and warranty booklet
Step 3: Attach the TV Stand (Optional)
If you’re not wall-mounting your TV:
Lay the TV screen-side down on a clean, soft surface (such as a towel or foam pad).
Align the stand (or feet) with the screw holes at the bottom of the TV.
Secure each foot using the included screws. A Phillips-head screwdriver is required.
If wall-mounting, follow the VESA pattern specifications in your Quick Start Guide. Wall-mount bracket sold separately.
Step 4: Connect the Power
Plug the power cord into the back of the TV, then into a working wall outlet or surge protector. Don’t power it on just yet—we’ll do that once the TV is in its final location.
Step 6: Remove the Screen Protection
Gently peel off the plastic film from the screen and bezel. This ensures you get the best possible viewing experience from the start.
All Set!
You’ve successfully unboxed your TCL TV. Now you’re ready to power it on and begin setup.
50" to 75"
Step 1: Open the Box the Right Way
Carefully cut or remove any plastic straps.
Lift and remove the entire top half of the box (this may include side panels depending on model size).
Set aside the packaging foam, accessories, and documentation as you go.
It is recommended to have two people for the unboxing/set up.
Step 2: Check What's in the Box
Your TCL TV box should include:
TCL Google TV
Remote (with batteries)
Power cord
TV stand(s)
Quick Start Guide and warranty booklet
Step 3: Attach the TV Stand (Optional)
If you’re not wall-mounting your TV:
Lay the TV screen-side down on a clean, soft surface (such as a towel or foam pad).
Align the stand (or feet) with the screw holes at the bottom of the TV.
Secure each foot using the included screws. A Phillips-head screwdriver is required.
If wall-mounting, follow the VESA pattern specifications in your Quick Start Guide. Wall-mount bracket sold separately.
Step 4: Connect the Power
Plug the power cord into the back of the TV, then into a working wall outlet or surge protector. Don’t power it on just yet—we’ll do that once the TV is in its final location.
Step 6: Remove the Screen Protection
Gently peel off the plastic film from the screen and bezel. This ensures you get the best possible viewing experience from the start.
All Set!
You’ve successfully unboxed your TCL TV. Now you’re ready to power it on and begin setup.
85" and Above
Step 1: Open the Box the Right Way
Carefully cut or remove any plastic straps.
Lift and remove the entire top half of the box (this may include side panels depending on model size).
Set aside the packaging foam, accessories, and documentation as you go.
It's recommended that you have 3 people, 2 to hold the TV and one to attach the feet. (For non-wall mount set up)
Step 2: Check What's in the Box
Your TCL TV box should include:
TCL Google TV
Remote (with batteries)
Power cord
TV stand(s)
Quick Start Guide and warranty booklet
Step 3: Attach the TV Stand (Optional)
If you’re not wall-mounting your TV:
Take the stand screws and cable covers out of the TV stands.
Carefully remove the foam packaging on the left and right sides of the TV. Leave the TV on the bottom foam packaging.
Align the stands with the screw holes located on the TV.
Secure the stands to the TV with the supplied stand screws. The stands can be installed at a higher or lower position as illustrated in your Quick Start Guide
Route the cables and install the cable covers as illustrated.
Stand installation is completed
Align the stand (or feet) with the screw holes at the bottom of the TV.
Secure each foot using the included screws. A Phillips-head screwdriver is required.
If wall-mounting, follow the VESA pattern specifications in your Quick Start Guide. Wall-mount bracket sold separately.
Step 4: Connect the Power
Plug the power cord into the back of the TV, then into a working wall outlet or surge protector. Don’t power it on just yet—we’ll do that once the TV is in its final location.
Step 6: Remove the Screen Protection
Gently peel off the plastic film from the screen and bezel. This ensures you get the best possible viewing experience from the start.
All Set!
You’ve successfully unboxed your TCL TV. Now you’re ready to power it on and begin setup.


